Ordinary People Change the World – Awesome Biographies for Petites

I am Amelia Earhart


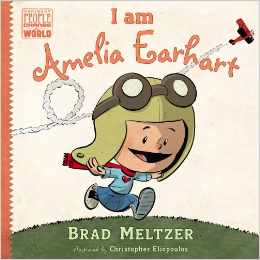
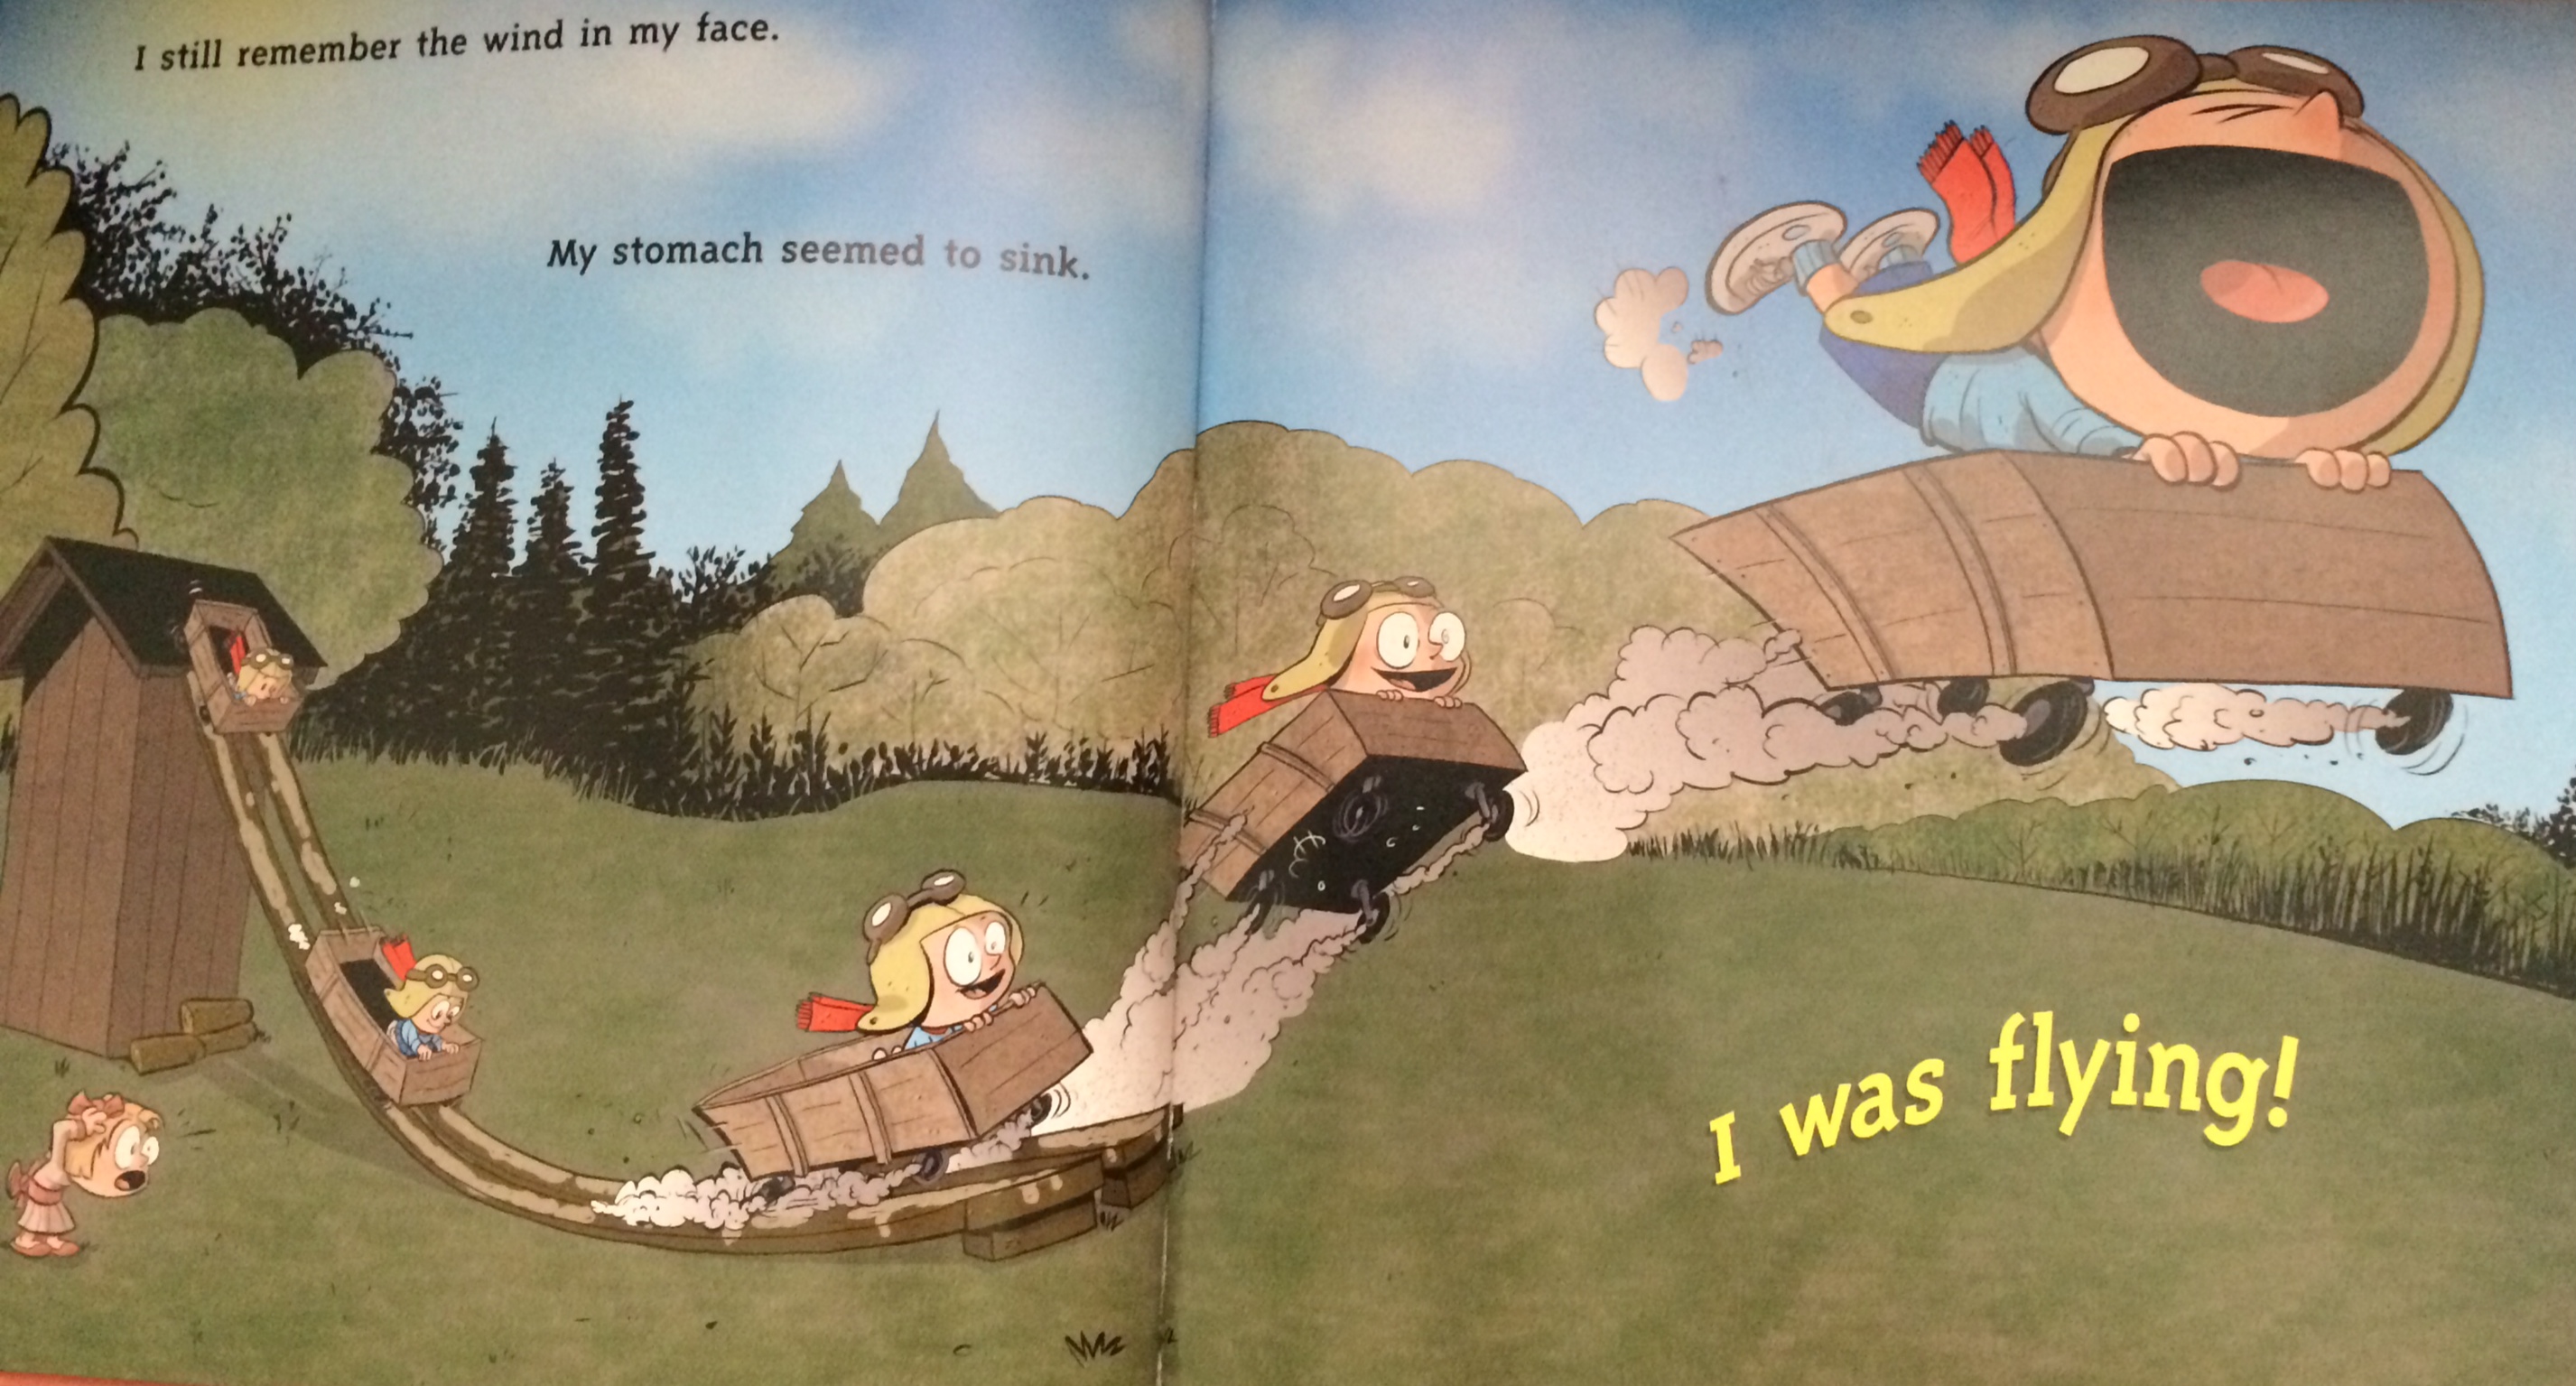
Brad Meltzer has created a new series of books called Ordinary People Change the World.  These books are amazing.  The illustrator Christopher Eliopoulos has created these comic book type images that make these books so enjoyable to read and look at.  Recently my petite went to the museum of flight and we learned about Amelia Earhart.  I am Amelia Earhart was so much fun to piggyback on our experience at the museum.  She just loved looking at this book and learning more about Amelia and how she was adventurous, brave and curious.  She loves the silly images of Amelia trying to fly as a little girl and then going on adventures.

Amelia


Abraham Lincoln
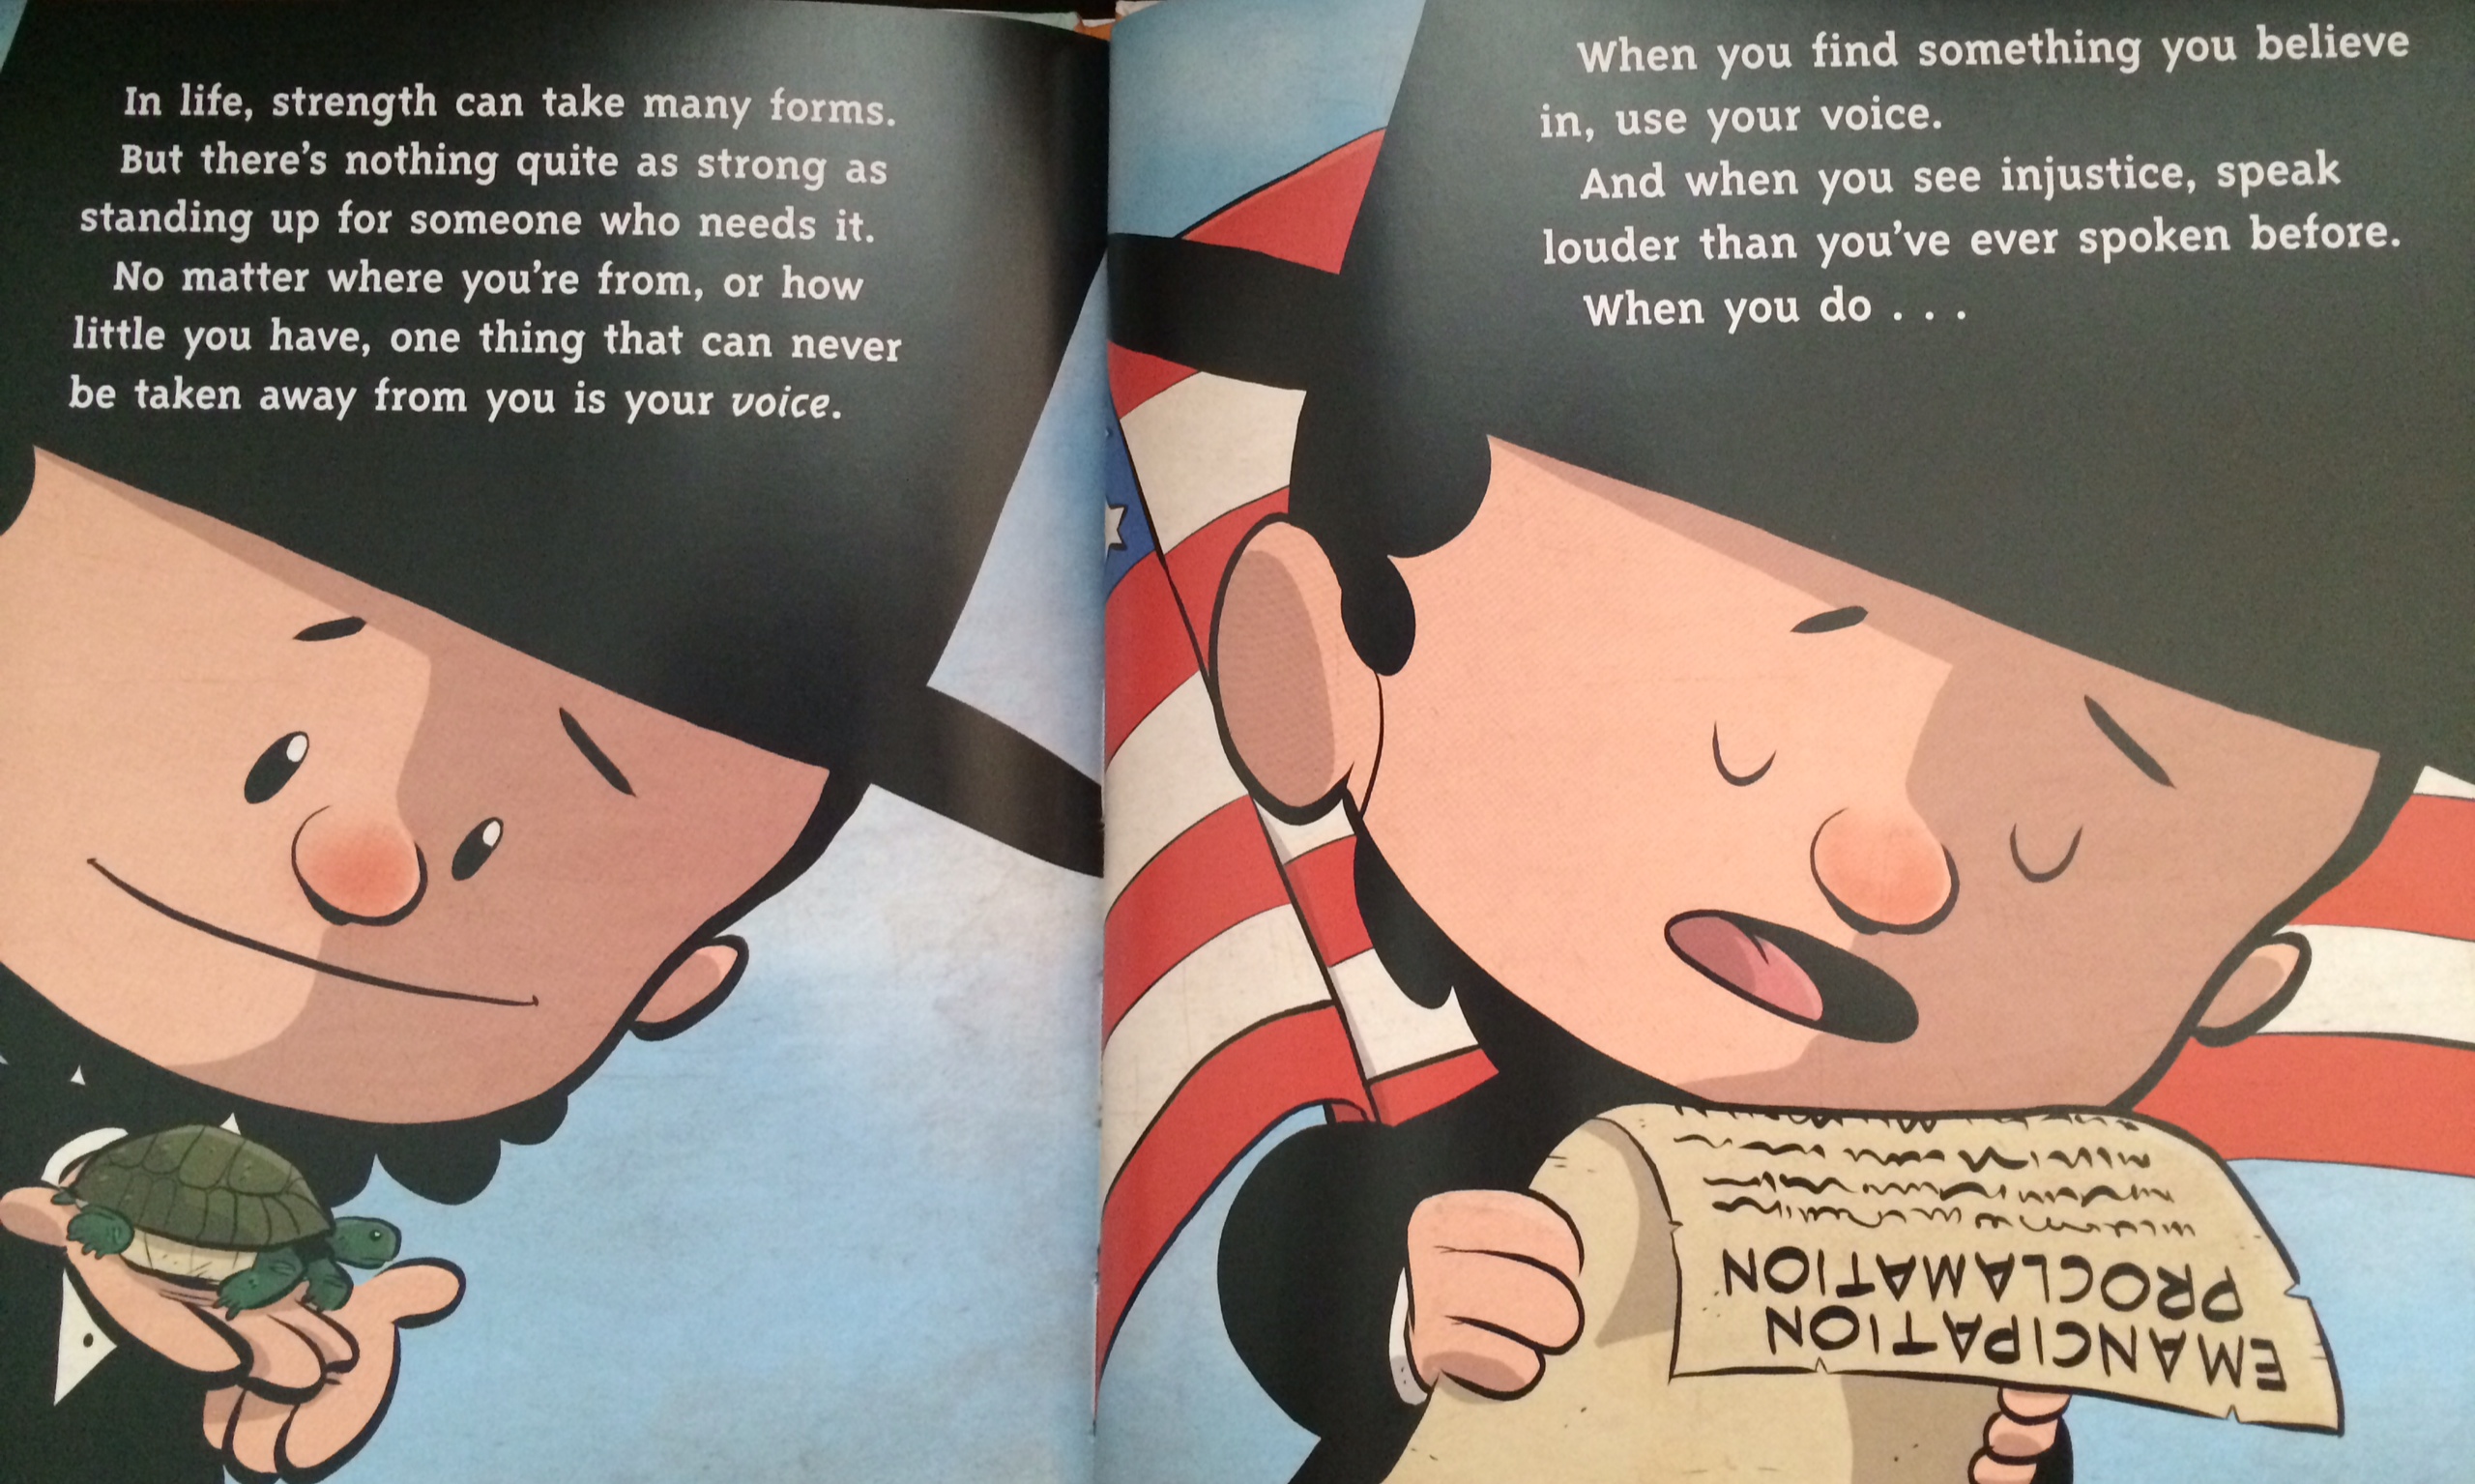
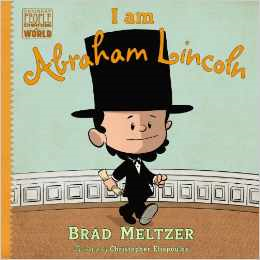
I am Abraham Lincoln is another title in this series.  Lincoln is my husbands favorite president; and our petite even has a Lincoln stuffed doll.  So this book purchase was a no brainer.  This book talks about how Lincoln as a little boy loved to read and loved animals.  About how he stood up for what was right no matter what.  These books cover pretty complex issues, like slavery and social injustice.  Meltzer does it in a way that is easy for young readers to understand; this is something that I think is not always easy to do.  These books are character builders, fostering traits that you want in your children

.Lincoln

I’ve seen many books about Amelia Earhart and Abraham Lincoln in the last few years as an elementary teacher and these books I think are just great for kids.  They don’t “dumb down” the content, it is just written in a really accessible way for kids to understand.  Which as a mom and a teacher I find incredibly appealing.

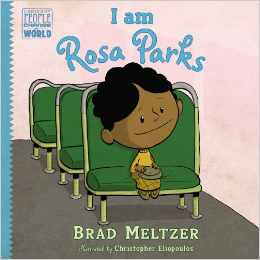
The next two books for Ordinary People Change the World are I am Rosa Parks  (released in June) and I am Albert Einstein (released in September).  So exciting. I am really excited to see what Meltzer comes up with for Einstein and even more so to see the illustrations of his hair.

Albert Einstein Rosa Parks

I have always thought Brad Meltzer was a thought-provoking guy and I love watching his Decoded TV show.  But now after exploring his website and reading the rationale behind why he created these books, I am even more of a fan.  When he was asked how he came about this and why he chose these books to write this is what he said:

For me, this isn’t just a book series.  It’s my dream for my daughter. My dream for my sons. My dream for all of us who need to see the power of an ordinary person…and the power – and potential – in each of us.

Look around. We live in a world that is starving for heroes. This is my solution.

– Brad Meltzer

I think that this is so true.  I am so glad that these books are available and that there will be more to come.  Let me know if you get them and what you and your petites think.  If you like this post, check out some of my other posts about books my petites and I love.

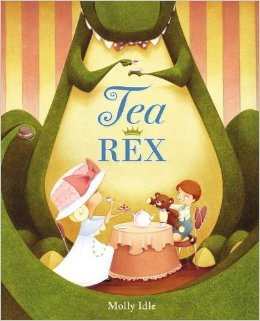
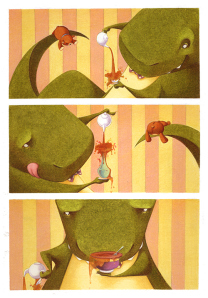
books on gardening | St. Patrick’s Day Books | Valentines Day Books | Tea Rex

Happy reading.


A cute new addition to the shelves

Tea RexToday I was at a local independent bookstore for story time and they had this book on display.  Wouldn’t you pick this lovely book off of the shelves for perusing?  The cover just begs you to open it and read.  It came out last April, and let me tell you Molly Idle who is both author and illustrator created an enchanting read.  The illustrations are just fantastic.  It is a terribly cute story about a little girl who has a T-Rex over for a tea party.  The silly things that happen when the too large T-Rex desires a spot of tea; as you can imagine with a tyrannosaurus at a tea party it is pretty silly.  This book is a must for any petite who loves tea parties and unexpected guests.

t rex

Stay tuned for more fantastic reads in future post, also if you have a story that you think is a treasure I would love to hear about it in the comment section.

Happy Reading,
Erin


Easter Eggs, wanting something beyond egg salad and deviled eggs?

We love eggs in this house.  Seriously, someday I will have a flock of chickens and will be able to stop buying eggs at Costco.  For us Easer is just another reason to eat delicious hard-boiled egg creations.  Let’s for a minute discuss the deviled egg – umm yum, but there are lots of other options out there.  You can add Sriracha to them and have a true Deviled Egg.

My recipe for Deviled Eggs:

6 eggs

2 tablespoons mayonnaise

1/2 tablespoon yellow mustard

1 tablespoon dill relish, or finely chopped dill pickle

1/2 teaspoon celery seeds

pepper to taste

There you have it, pretty simple huh?

Devilish Eggs, follow recipe above, just replace the mustard  with 1/2 teaspoon Sriracha.

Guacamole egg,

6 eggs hard-boiled

2 tablespoons mashed up avocado

1 tablespoon mayonnaise

1/2 teaspoon chopped jalapeno

1 tablespoon finely chopped tomato

1/2 finely chopped cilantro

squirt of lime

salt and pepper to taste

Other options are to make a delicious toast/crostini with the eggs – you can decide how much you want to be eating.  It at first seems like an unlikely combo, but its delish!

Prosciutto Pesto Egg Toast/Crostini

baguette sliced 1/4 inch, brushed with olive oil and baked at 350 for 10-20 minutes flipping over halfway.  Or if you opt for a toast, just toast up some sourdough bread in the toaster.

classic pesto sauce (or make your own)

6 slices of prosciutto

4-5 hard-boiled eggs sliced ( I don’t use the end pieces because they lack the yolk)

Or for the toast: toast the bread, spread a layer of pesto, add a little folded up prosciutto and place an egg slice on top.


proscuitto


Also, Cobb Salad, here is a great one from Better Homes and Gardens. Cobb Salad

Another delicious salad would be the Salade Niçoise here is a fabulous recipe from Savour.  


How to peel those pesky eggs.  So this will give you insight on what a nerd I am, recently I boiled a batch of eggs and they were the worst ever, I couldn’t peel them and ended up swearing up a storm the more frustrated and mangled the eggs got.  So here are some things I have learned since then.  Do not do the Pinterest bake them in a muffin tin, it will make the side of the egg that touches the tin turn brown and the eggs themselves are rather rubbery.  PINTEREST FAIL!

Next, to peel the eggs perfectly.  I read that if you soak them in water to cool them, because the egg is a permeable shell it will continue to absorb water, thus making it easier to peel.  Another way is in the cracking, you want to gently tap the bottom (less pointy side) of the egg and then tap all around the egg.  I then run it under cold water just briefly then pick first at the bottom, there is an air pocket and it is easiest to get the membrane to pull away from there.

These are just a few recipes that I think are delish.  After that Easter bunny has come and gone, what do you like to do with all of your eggs, I’d love to hear about other ways you use your hard-boiled eggs?
E

My Gram’s Green Thumb

My Gram could grow just about anything.  She had an amazing garden.  I used to spend hours with her in the garden tending to the flowers and giving them lots of extra love.  She grew these amazing orchids in her sun-room.  These orchids lived long after she passed away in the care of my aunt and uncle.  My uncle has the green thumb too, he used to live in a house in the bay area where he had this, what I remember to be a, secret garden behind the main yard where he grew these huge tomatoes, you could almost get lost in his tomato plants.  I am sure there were lots of other delicious things in there too, but I remember the endless tomato plants and the huge amazingly red tomatoes.  My grams passion for growing things lives on in me as well.  I love gardening.  I love that you can grow amazing things in the garden and take them to your table and provide delicious meals from foods that you grew for your family.  When I think of gardening, my real strength and passion is in growing edibles, rather than flowers – don’t get me wrong flowers are lovely, but with limited space I tend to attempt vegetables and herbs.
Unfortunately, I do not live in a rural location where I can have the garden I dream about.  But aren’t these amazing?  I am in love with all of them.  They all have something in common…space and raised beds.  Yes, please!
Presentation1
My reality is a concrete slab and beauty bark.  Boo! So I attempt to make do.  Sometimes it is an epic fail, but honestly that never stops me – there is always the chance it will be a mini garden of my dreams.  This year I’ve agreed to a challenge.  The goal is to spend only $50 on the garden.  In the past two years I’ve spent a lot of money and had very poor luck.  Basically, my garden has been a disaster the last two years.
This year is going to be different.  Usually I would have given up on this gardening in this yard, but I just can’t do it.  It feels wrong to give it up.  So, with my $50 the petite and I decided we are going to have our own little victory garden.
Last year I ordered seeds from a catalog and didn’t use them all so I attempted to grow them indoors to see what would happen – since they were out of date I consulted the web and found that yes indeed they have a much longer shelf life if they are stored properly.  We were so excited to see the seeds start growing.  I decided to make a gutter garden since we are so limited on space outside and the rest of the garden is in containers.  Some of these are found containers, wine crates, old Tupperware bins that I have drilled holes in.
garden 1
We’ve got quite a bit going on in the garden so far, in the gutter gardens we have strawberries, two types of lettuce and chard.  We’ve also planted peas, green beans, kale, cucumbers and zucchini.  We recently sowed some seeds outside now that it is a bit warmer.  We have scallions, carrots, 4 different types of lettuce, and beets.  We’re also attempting to grow potatoes in a clothes hamper – I have no idea if this is going to work.  If it does, I will be so excited, if not oh well it was a good effort.  What I really struggle to grow from seeds is tomatoes, we’ve tried a few varieties, and will see how they grow, but I’ve already reserved some of the budget to buy tomato starts.  I just need to decide what types of tomatoes to get, last year I bought the “doesn’t grow tomatoes” variety so I am hoping to not have that happen again.
My Budget $50
  • Kale, chard, strawberries, peas – $10
  • Watering can $8
  • Fertilizer, bamboo for the peas, and arugula starts $13
What’s your favorite go to vegetable in the garden?  I’m always curious as to what other people grow in their gardens.
Happy growing,
E

Little Green Thumbs

gardening books for kidsThere are so many amazing books for young children.  Here are some of my favorite books about gardens, plants or gardening for the petites.  I love how these stories feature boys and girls and above all the love for growing things.

The Tiny Seed a sweet story where children get the opportunity to learn about the life cycle of a seed.   

Planting a Rainbow this is a great story about planning seeds, both my girls love it and the rainbow of colors, more for younger kids.  The board book is a particular hit.

The Curious Garden a great story about a little boy named Liam who lived in a dreary city and found a little plant and helped it to grow into a fabulous garden.

Grandpa Green – this is by far one of my favorite books, it is beautiful.  The story of a man’s life is told through the hedges that he shapes in his garden.  I’m not going to lie, I cried the first time I read it, it’s so sweet.

Ladybug Girl Visits the Farm – who doesn’t love a good Ladybug Girl book?  I know my girl does.  This one combines a lovely story and stickers that can be placed within the storybook.

Growing Vegetable Soup – this is another great book about growing your own food, so much fun, more for younger kids.

My Garden – I love this story a little girl who helps her mother in the garden and then uses her imagination to create her own remarkable garden.

Mrs. McNosh and the Great Big Squash – My girl has loved this silly book and how it rhymes since she was about two.  She loves the giant squash and how silly it is.

Jack’s Garden –  This is the story of Jack and how he made his garden, this book shows the steps and the tools needed to make a garden.


I love all of these books, so many have amazing illustrations and inspire the love of growing things.  These books pose as fantastic conversation starters as well.  As a teacher, I have spent a lot of time speaking with parents about reading.  One of the most common questions I got was: How do we do more than just read with our kids, and what does that specifically look like?  Here is what I suggested based on the age of the kids.

2-3 year olds

  • What illustration/picture did you like the best? (start using words like illustration)
  • What was your favorite part of the story? Why? (if not verbal have them point)
  • Asking specific questions about what they see in the illustrations, having them point out specific things.

3-4 year olds

  • Before you read a new book, have the petite look at the cover and then do a “picture walk” where they just look through the book at the pictures.  When they are done ask them to make a prediction about the story.
  • It is also good to start using words like title and author as well.  Make sure to point these out on the cover.
  • Asking what they predict will happen next in the story at different points?
  • Asking them what the problem is in the story? How they think it could be fixed?
  • Asking them to retell the story, what happened first and last?
  • What was their favorite part?
  • What did the illustration make them think about?
  • When the story is over ask if they would want to tell a friend about it and who they would tell.

These are just a few things that will support your young pre-readers and get them thinking more actively about the stories they are listening to. Of course just pick a few of these each time, or questions that are more pertinent to the story.  All in all these questions are a great way to bridge listening to thinking about stories.

Happy reading.

Erin

Best Banana Bread Ever

Best Ever Banana BreadThis banana bread is so good, we love it.  I don’t know about you, but I always buy bananas as if they were going out of style, not to mention no one in my family will actually eat a ripe banana.  They all prefer them to be slightly green, and once they are yellow, it’s all “no thank you”.  So, considering all of this and the fact that I buy them in bulk it is inevitable that 1-2, okay usually 3 of the bunch turn a lovely shade of brown.  As soon as that happens I put them in the freezer, where sometimes they sit for a very long time.  Really they shouldn’t be in there for more than two months, so if you’ve got some in your freezer that have been in there longer, you might wanna toss them out.


So this is really the best banana bread ever its super moist (ugh such a gross word – but damp, wet, humid and soggy don’t seem to hit the mark)

Here is the recipe:

2 cups of flour

1 teaspoon baking soda

1/4 teaspoon of salt

1 stick of butter softened

3/4 cup brown sugar

2 eggs beaten

6 overripe brown bananas – thawed if they’ve been in the freezer, not the liquid just the banana

Preheat oven to 350 degrees

Mix the flour, baking soda and salt in a bowl.  Using a mixer mix the butter and brown sugar, when they are mixed together add in the Making the best ever banana breadeggs and then the bananas.  Then slowly on a low-speed, so you don’t overwork the bread, add in the flour mixture.  Then pour it into a loaf pan, I use the Emile Henry Loaf Pan from William Sonoma so I don’t spray it or grease it before, if you use a metal one go ahead and wipe some butter on the edges or spray some cooking oil on it.  Depending on what type of pan you use it could take anywhere from 55-65 minutes to cook through, best use a toothpick to see if it is done.

It is great, we struggle to not eat it all in one sitting.  Even the smallest petite is a huge fan of this banana bread.photo 3

My Petite and Epilepsy – Diagnosis

I’ve mentioned in previous posts that my petite has epilepsy, but I’ve never gone into too much detail about it.  Part of the reason is that the more I talk about it the more it becomes real and part of me is still possibly in a sense of denial.  You see I want to wrap her in my arms, much like I swaddled her as a baby and hold her close, close so I can protect her and keep her safe.  Recently, I admitted out loud that maybe I am not okay. I’ve been trying to put on a brave face and advocate fiercely for my girl.

How in a single moment everything changed:

In October my girlie was home from school and taking a nap, she woke up and seemed a little bit out of it, she seemed like she was still really tired.  She came down the stairs and just stood there, when I called her name she didn’t respond, her eyes were not focused.  In the amount of time it took me to get to her from where I was sitting, the “episode” was over.  She was back to her normal self.  I assumed she was just tired, maybe had low blood sugar or needed a snack.

The next day she woke from her nap and came downstairs and tried to talk to me and couldn’t.  She stuttered out mommy and was unable to focus her eyes and fidgeted with her dresses hem, her lips started smacking like she was chewing something that wasn’t there.  She stood, just looking off into, well into nothing.  Her father and I were panicked, we had never seen her doing anything like that before.  We immediately called the pediatrician and were seen two hours later.  We described what we had just seen and he checked her out and said she seemed fine now, but that it sounded like something neurological had taken place.  We left with a referral to a pediatric neurologist the following week.

The neurologist told us she wanted to get an EEG before she saw us in her office.  So we scheduled that.  In the meantime we started taking videos of the behavior that we were seeing if we could capture it.  We caught two seizures on video in less than one weeks time, both of them over 3 minutes long.  We showed up to the EEG appointment, the petite was nervous, as were we.  She was very confused because she had no memories of the seizures and in her mind only sick people go to the doctor and she wasn’t sick.  We started the EEG and almost instantly the tech held up a note asking when we were to see the doc.  We had no set apt, which we told him.  Unbeknownst to us, the tech had paged the neurologist with a 911 and she came down immediately to watch the EGG as it was happening.  Apparently, her EEG showed a multitude of disturbances.  My husband had stepped out of the EGG room with the baby since she was starting to fuss (we had our other daughter with us who was only 12 weeks old).  He had no idea the neurologist was out in the hall watching the EGG live.  She matter-of-factly told my husband that our girl had epilepsy.  I was laying in bed with the petite as she slept during the EEG trying to hold back the tears.  Later after she woke, I walked out to see what was going on with the baby.  When I walked out, my husband held my hand and told me that she has epilepsy.  I sobbed.  Before I even had time to process what epilepsy might mean the doctor was telling us about the medicine that she would be taking and what to do if the seizures turned into grand mal.

Epilepsy is a very scary word.  It is a very scary diagnosis.  It can mean so many different things depending on what type of seizures and the occurrences.  Of course when you hear that your four-year old has something that could impact her in ways unknown it is terrifying.  My heart ached.  There are moments now, where I can barely breathe when I think about my sweet girl and what all this means.  At the time, I had no way of knowing what was to come in the months in weeks ahead.  Even as I write this I have no way of knowing what is to come in the weeks or months to come.  What I do know is that I have an amazing daughter who is incredibly brave, smart, empathetic and hilarious,  Yeah epilepsy is something she has, something that is still scary, but it doesn’t define who she is.

Traveling with Young Toddlers

Traveling with babies ItemsOne of my dear friends is traveling with her petite to Hawaii in a few days, I was trying to remember what all we packed for our little one when we traveled to California when she was 13 months old and then to Ireland when she was 16 months.  There are a few things that really saved us on our travels:

Stacking cups were great for her because we could put snacks in them and then hide things under them as well.

AquaDoodle book is a must for any kid who is on a plane or in the car it is great.  At 4 years old she still uses it in the car.  It was one of the best purchases we’ve ever made, just don’t lose the water pen.

Easter eggs are great too, buy them now, I always seemed to want them when it wasn’t near Easter.  They are great to put little snacks in or you can put beans in them and make shakers.  Plus they are fun for the kids to open, its like a little present.  Try to find the eggs where they shells are attached that way you wont have to try to find tops or bottoms.

Colorful Post-its these are fun to stick onto the tray table as well as window.  They are also fun to pull off of the little stack, not very environment friendly though.

Blue Painters Tape this stuff is awesome, same idea as post-its, fun to peal on and off of the tray table and windows

Cheerios we used these in the eggs when the petite was 12 months, then used them with pipe cleaners when she was 16 months, she enjoyed putting them onto the pipe cleaners and then eating them

Fruit/Veggie Squishies these are a must for traveling babies, they are the perfect size to take on the plane and virtually mess free.

Toddler or Baby Crayons these are awesome, you can color on small notebook pages. Really easy for little hands to hold onto.

Window Clings I just saw this one on Pinterest, and thought it would be a good idea to have these little cute clings to decorate the window.

Some other items to pack, an extra shirt for you especially if the petite will be sitting in your lap.  A scarf/pashmina for nursing in private.  Extra set of clothes for the petite and binkie if they will use them.

I am sure there are a ton of other ideas out there for traveling with toddlers, if you have a suggestion for something that you do and love please let me know in the comment section.  All of the stuff I listed above can be found at Target, the only thing that I have to order online was the AquaDoodle and you can find it here.

Traveling with a little one can be very overwhelming, I find that the more planning I did the better things turned out and who knows the petites might even just sleep the entire time.  🙂sleeping

Happy Travels.


Starting Seeds Indoors in Egg Shells

photo 5

Kentucky Wonder Green Bean

As spring rolls around in most parts of the country, here in Seattle, we usually have a few warm days and lots of rainy days intermixed.  I don’t mind the rain for sleeping in, lounging and reading a book, sipping tea etc.  For planting seeds, it is often too soggy.  A few years ago I had a student who made me a grow light and stand in wood shop – awesome right?  However, I have no idea where my precious light went.  So this spring I have decided to try a new way of starting seeds inside.  Egg Shells.

I had seen and read about people using egg-shells, and I wasn’t really sure how this would work, in the past I’ve used the little peat pots, or the starter discs that fill up with water.  Last spring, I used those little discs and the batch I got was infested with bugs and once I started watering the plants the bugs hatched – super gross.

I also really am not a fan of paying for things that have temporary uses  – like those little dirt discs or peat pots.  My thinking is that we eat a ton of eggs, probably should have chickens we eat so many eggs.  Since I have an abundance of free egg shells I thought I would give it a try.  Let me tell you, I am so glad I did.

I was able to grow seeds in  lightning speed.  Within one week the seeds were doing amazing and some were even overachieving like the one on the left.  Okay let me tell you what we planted in our egg-shells.

Going from left to right:one week in

  1. Kentucky Wonder Green Beans
  2. Tender Green Beans
  3. Straightneck Yellow Squash
  4. Zucchini
  5. Cucumbers
  6. Kentucky Wonder Green Beans

After two weeks some of the green bean seedlings were getting so big they needed a larger space, so I put a few of them into smaller pots.  It is still in the low 40s at night, sometimes still frosting and I am planning to keep them inside just a little bit longer before the hardening off process will take place.

Cucumber

Cucumber

What I thought was so interesting about using the eggs is that the roots seem to be so much more extensive than I have seen in the past, I don’t know if it is the thin membrane on the eggs, but look at those roots.  photo 2The petite and I had so much fun pealing the egg off of the new little plant and putting them into bigger pots.

After already planting these little seeds I read that sometimes smaller seeds do better (oh well, mine did just great), so now I just need to make a frittata, quiche or something to get some more egg shells to start my next batch of seeds, as you may have seen me mention the petite wants to grow “salad” in the gutter garden, so we need to get seeds sown to make her gardening dreams come true.  I loved doing this project and it is really so easy to do.  The hardest part is remembering not to demolish the egg-shell when you crack it.

A really great blog that I am loving to read about all things garden related is Gardening Betty, she has given me some amazing ideas on using found items at home and ways to shop the local dollar store for items that I don’t have around the house.  I am most jealous of her amazing avocado tree, if only one would grow in Seattle.

Yay for Spring!


Pinterest Garden Obsession

I don’t know about you, but I look at Pinterest all the time.  It used to be a time suck, but now I do a lot of pinning while I am nursing the baby, so I count it as multitasking.  I love looking at all of the neat ways people out in the world maximize space in their gardens.  My latest obsessions are these amazing gutter gardens.  There are so many neat tutorials out there on how to make these awesome gardens.  Here is one that I loved from this super cute blog Borealis, my only problem is we don’t own, so we can’t drill into the fence.  I have been brainstorming ideas in my head for a few weeks now and came up with what I think to be a pretty solid idea.  To complete the gutter garden I need exceptionally large washers, and some sort of chain link, gutters (obviously) and end caps.  I really am hoping my idea works without, a. breaking the fence; b. falling from the fence; c. looking so bad I have to take it down; and d. all of the above.

This sent me and the petites to Home Depot.

Step One: Find Parts Needed.  I found the 10 foot long gutter right away – check.  Then the end caps were right underneath it – check.  Pushing a cart with a 9 month old strapped to the front of you and a four-year old trying to hold a 10-foot long vinyl gutter – not possible.

Step Two: Cut Gutter. So I asked the wood people if they would cut the gutter for me, “no can do Mam”.  Then I am directed to a self cut station.  With one petite in the cart the other strapped to me, I think yep, I’ve totally got this.  Yeah nope.  Luckily for me a nice man happened to walk by and saw me trying to saw a vinyl gutter with a nine-month-old strapped to the front of me.  He took pity on me and cut it for me.  The younger me, would have been mortified that I couldn’t do it all, that as a woman I would need help from a man.  However, now, I must admit I am very fond of my petites fingers that I said heck yeah, cut this gutter please and thank you.

Step Three: Find parts to hook it to fence.  Now for a way to get it to hook into the fence without doing any damage.  Here was the sort of laughable part, everyone is so friendly and really wants to help you find what you’re looking for.  Lucky for me, when I described how I wanted to craftily put the gutter garden to the fence the employees were able to direct me to all the parts I needed.

Step Four: Pay for ALL the items.  I decided to check out at self check and pay for all the items or so I thought.  Until a slightly terse lady notified me that in fact I had not paid for all of the items; that one of the petites had been sitting on some of them and I did indeed need to pay for them.  Fabulous.  I left being slightly embarrassed, but with all of the parts needed to make my awesome gutter garden.  (Another location that may or may not have a picture of me and the petites in some backroom – see my post on our art museum trip)

picstitchSo here is what everything looked like.  As you can see it’s craftily put together and for us that is just fine, it is holding dirt and water successfully and as you can see the fence is still standing.  Yay!  There are much better tutorials out there about making real gutter gardens.  For example here and here.

With that said, if you rent too and want some craftily put together gutter gardens here are the steps:

  1. buy one vinyl gutter, 6 gutter end caps, 14 feet chain (I chose 16lbs. chain), 4 very large washers, 1.5 inches in diameter, some wire(I used old wire from IKEA picture frames), zip ties.
  2. cut gutters into three sections
  3. put end caps onto gutters – they just push on
  4. drill holes all through gutter for drainage
  5. drill holes into gutter walls to hook chain
  6. use zip ties to hold chain and gutter together
  7. measure out how far you want gutters to hang apart, if they are slightly crooked it isn’t a big deal, it’s better for drainage
  8. hook wire to top of chain apex and then attach washer twist it together to hold tight
  9. repeat steps for single gutter that is left (more than two gutters would be too heavy with water and soil and plants)

I will post more pictures once the plants start growing.  The petite has been telling everyone she wants to grow salad, so that is what we will grow in the gutters.

Happy gardening,

E