Luck of the Irish – books for petites

O'Sullivan Stew

O’Sullivan Stew (Picture Puffins) this is a story that will is filled with good old Irish blarnery as Kate O’Sullivan thinks up a creative way to get her and her family out of a problem.

Fiona's Lace

Fiona’s Lace is a lovely book, fans of Patricia Polacco will not be disappointed, this is another completely lovely story.  This is a story about a family who emigrates to Chicago and through Fiona’s hard work that eventually brings the family all back together.  This book is a lovely story, but more for older kids 2nd grade and up.

Awesomely cute craft from the brilliantly creative Allison McDonald

shamrock-prints-with-foam-stickers-

Shamrock Prints from No Time For Flashcards

If you liked this post you need to check out this one with more fantastic titles all about St. Patrick’s Day.

st patricks day books

Advertisement

Feeling crafty? Book Nook Decor

A few weeks ago my best girlies and I got together to make some really fun crafts for our petites.  I absolutely adore when you see something on Pinterest, think it looks really cute and are able to execute it.  Yay!  This is a really easy activity with minimal materials needed and a nap time to complete.

Finished version

bare letters BookThe materials you will need:

  • modge podge
  • foam paintbrush
  • letters
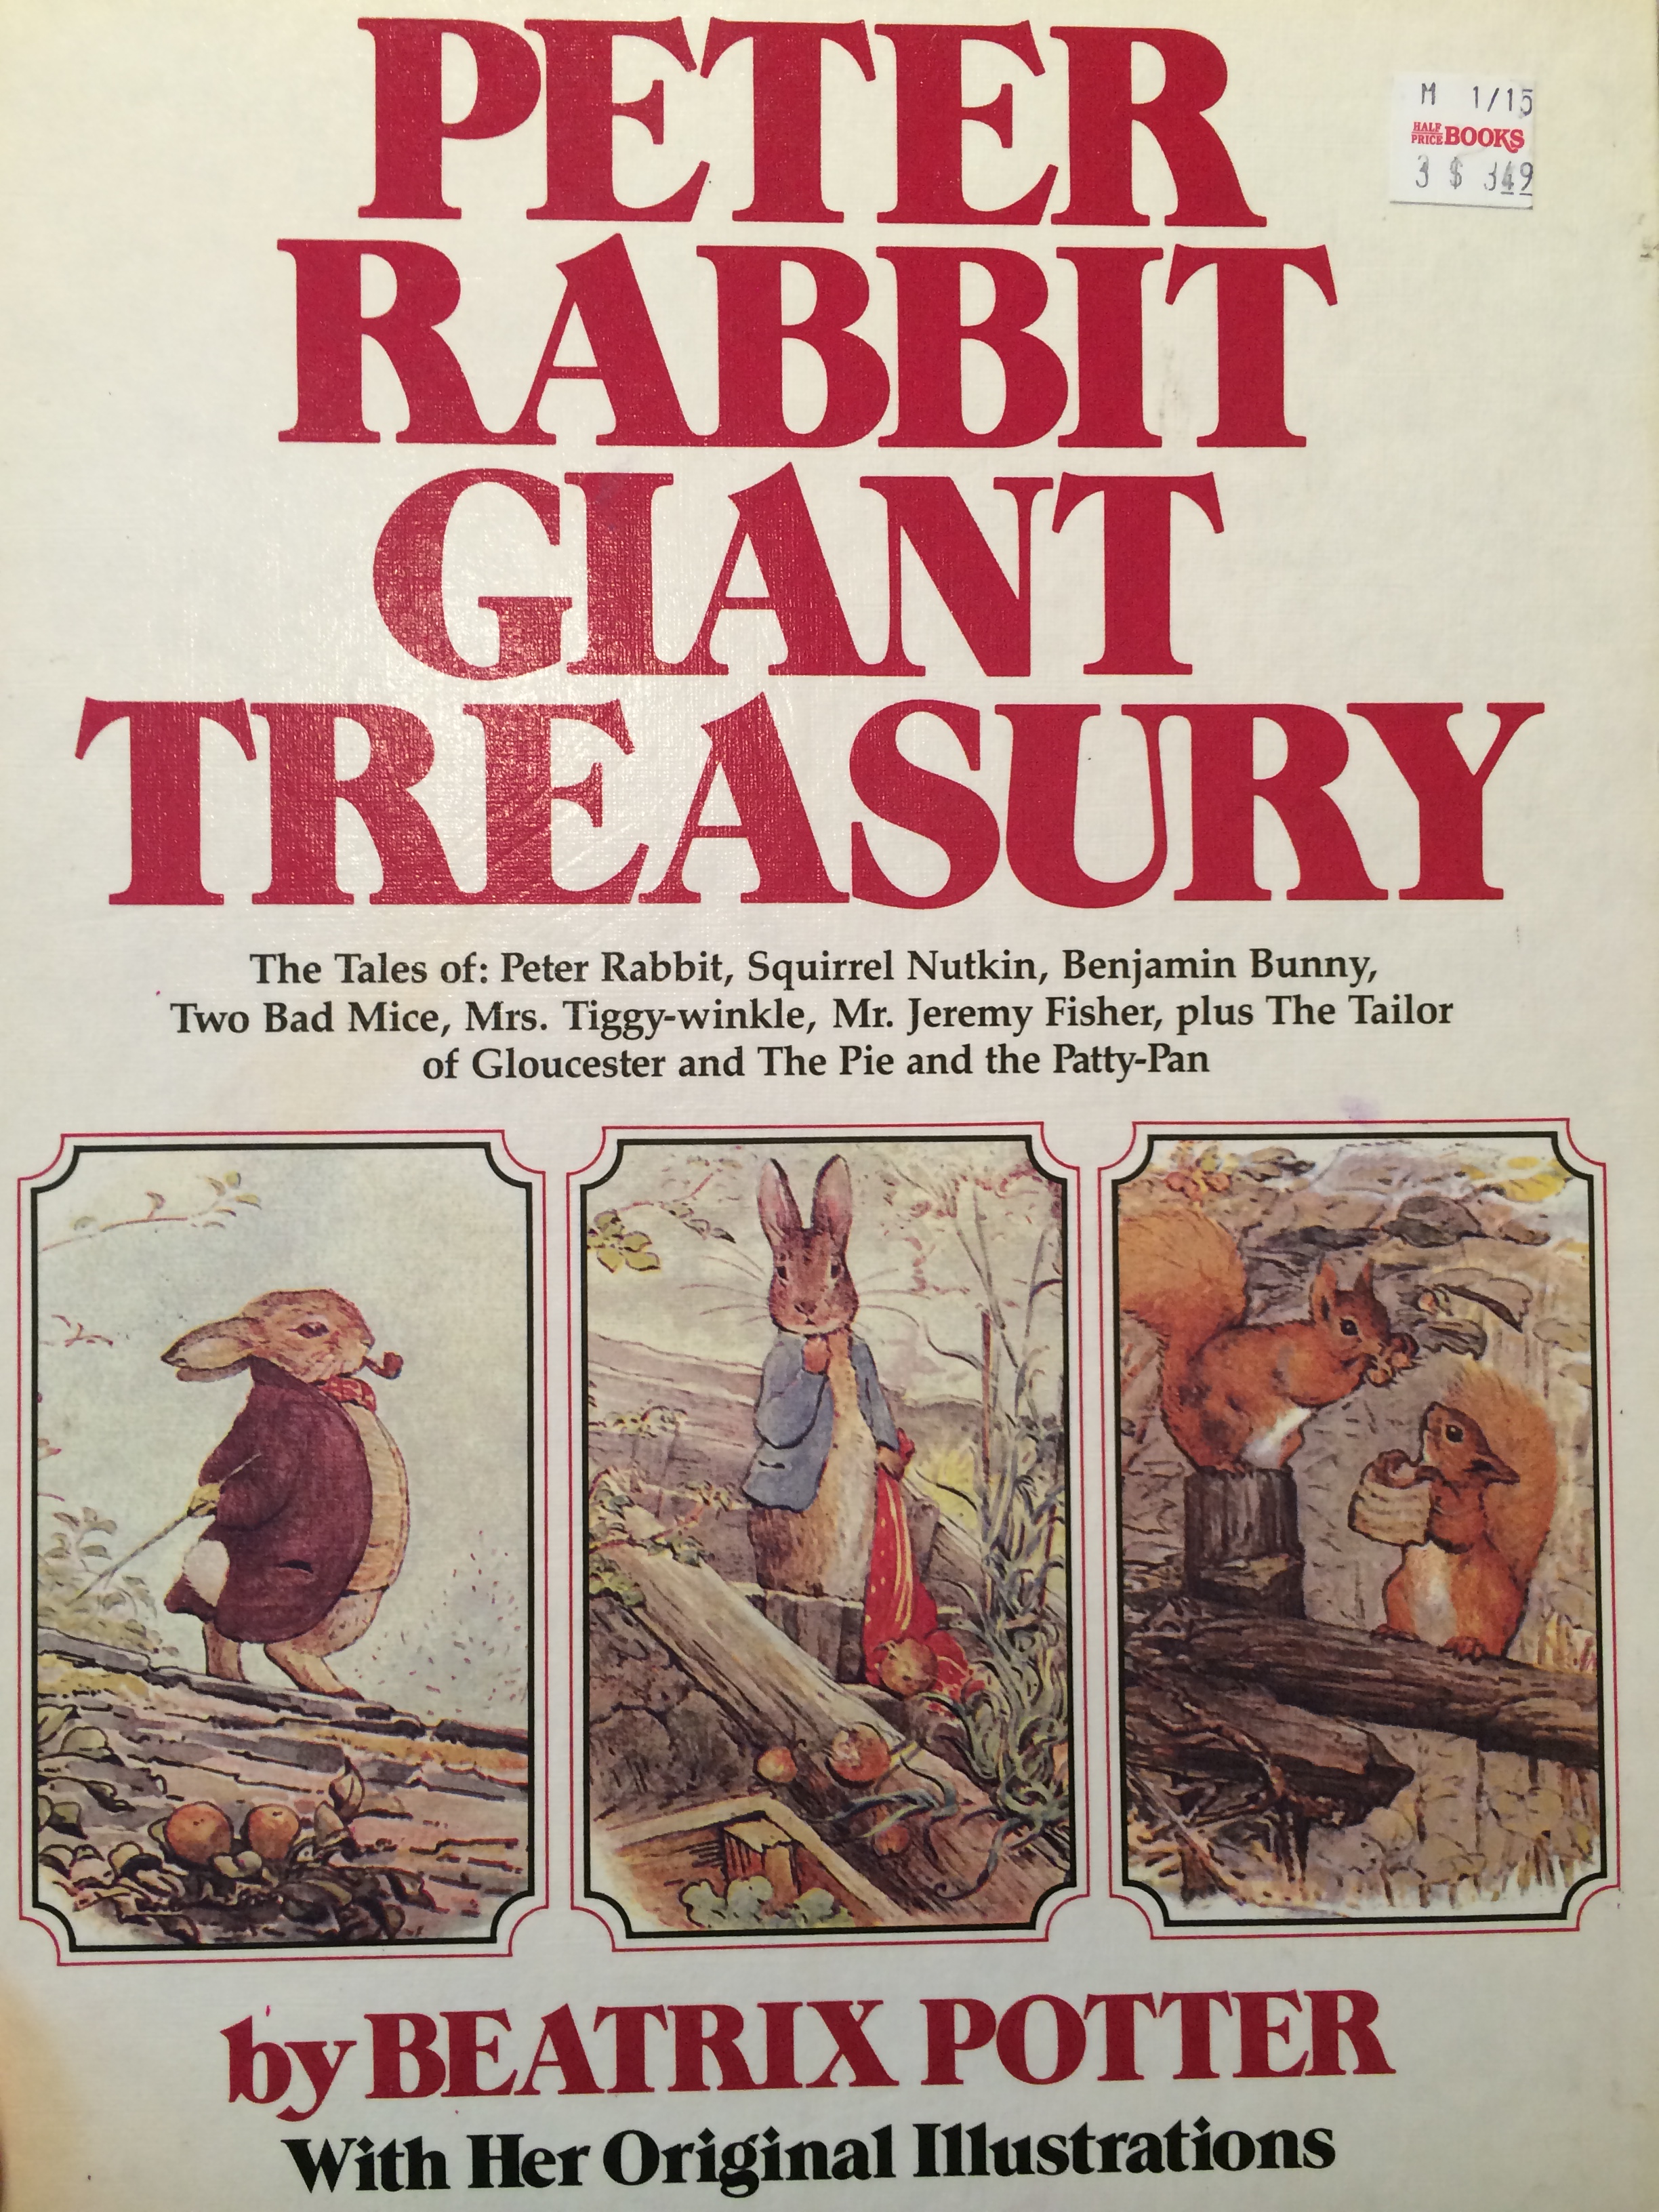
  • book (that you are okay with taking apart)/children’s art work
  • exacto knife
  • tin foil to lay the letters on as they dry
  • nap time

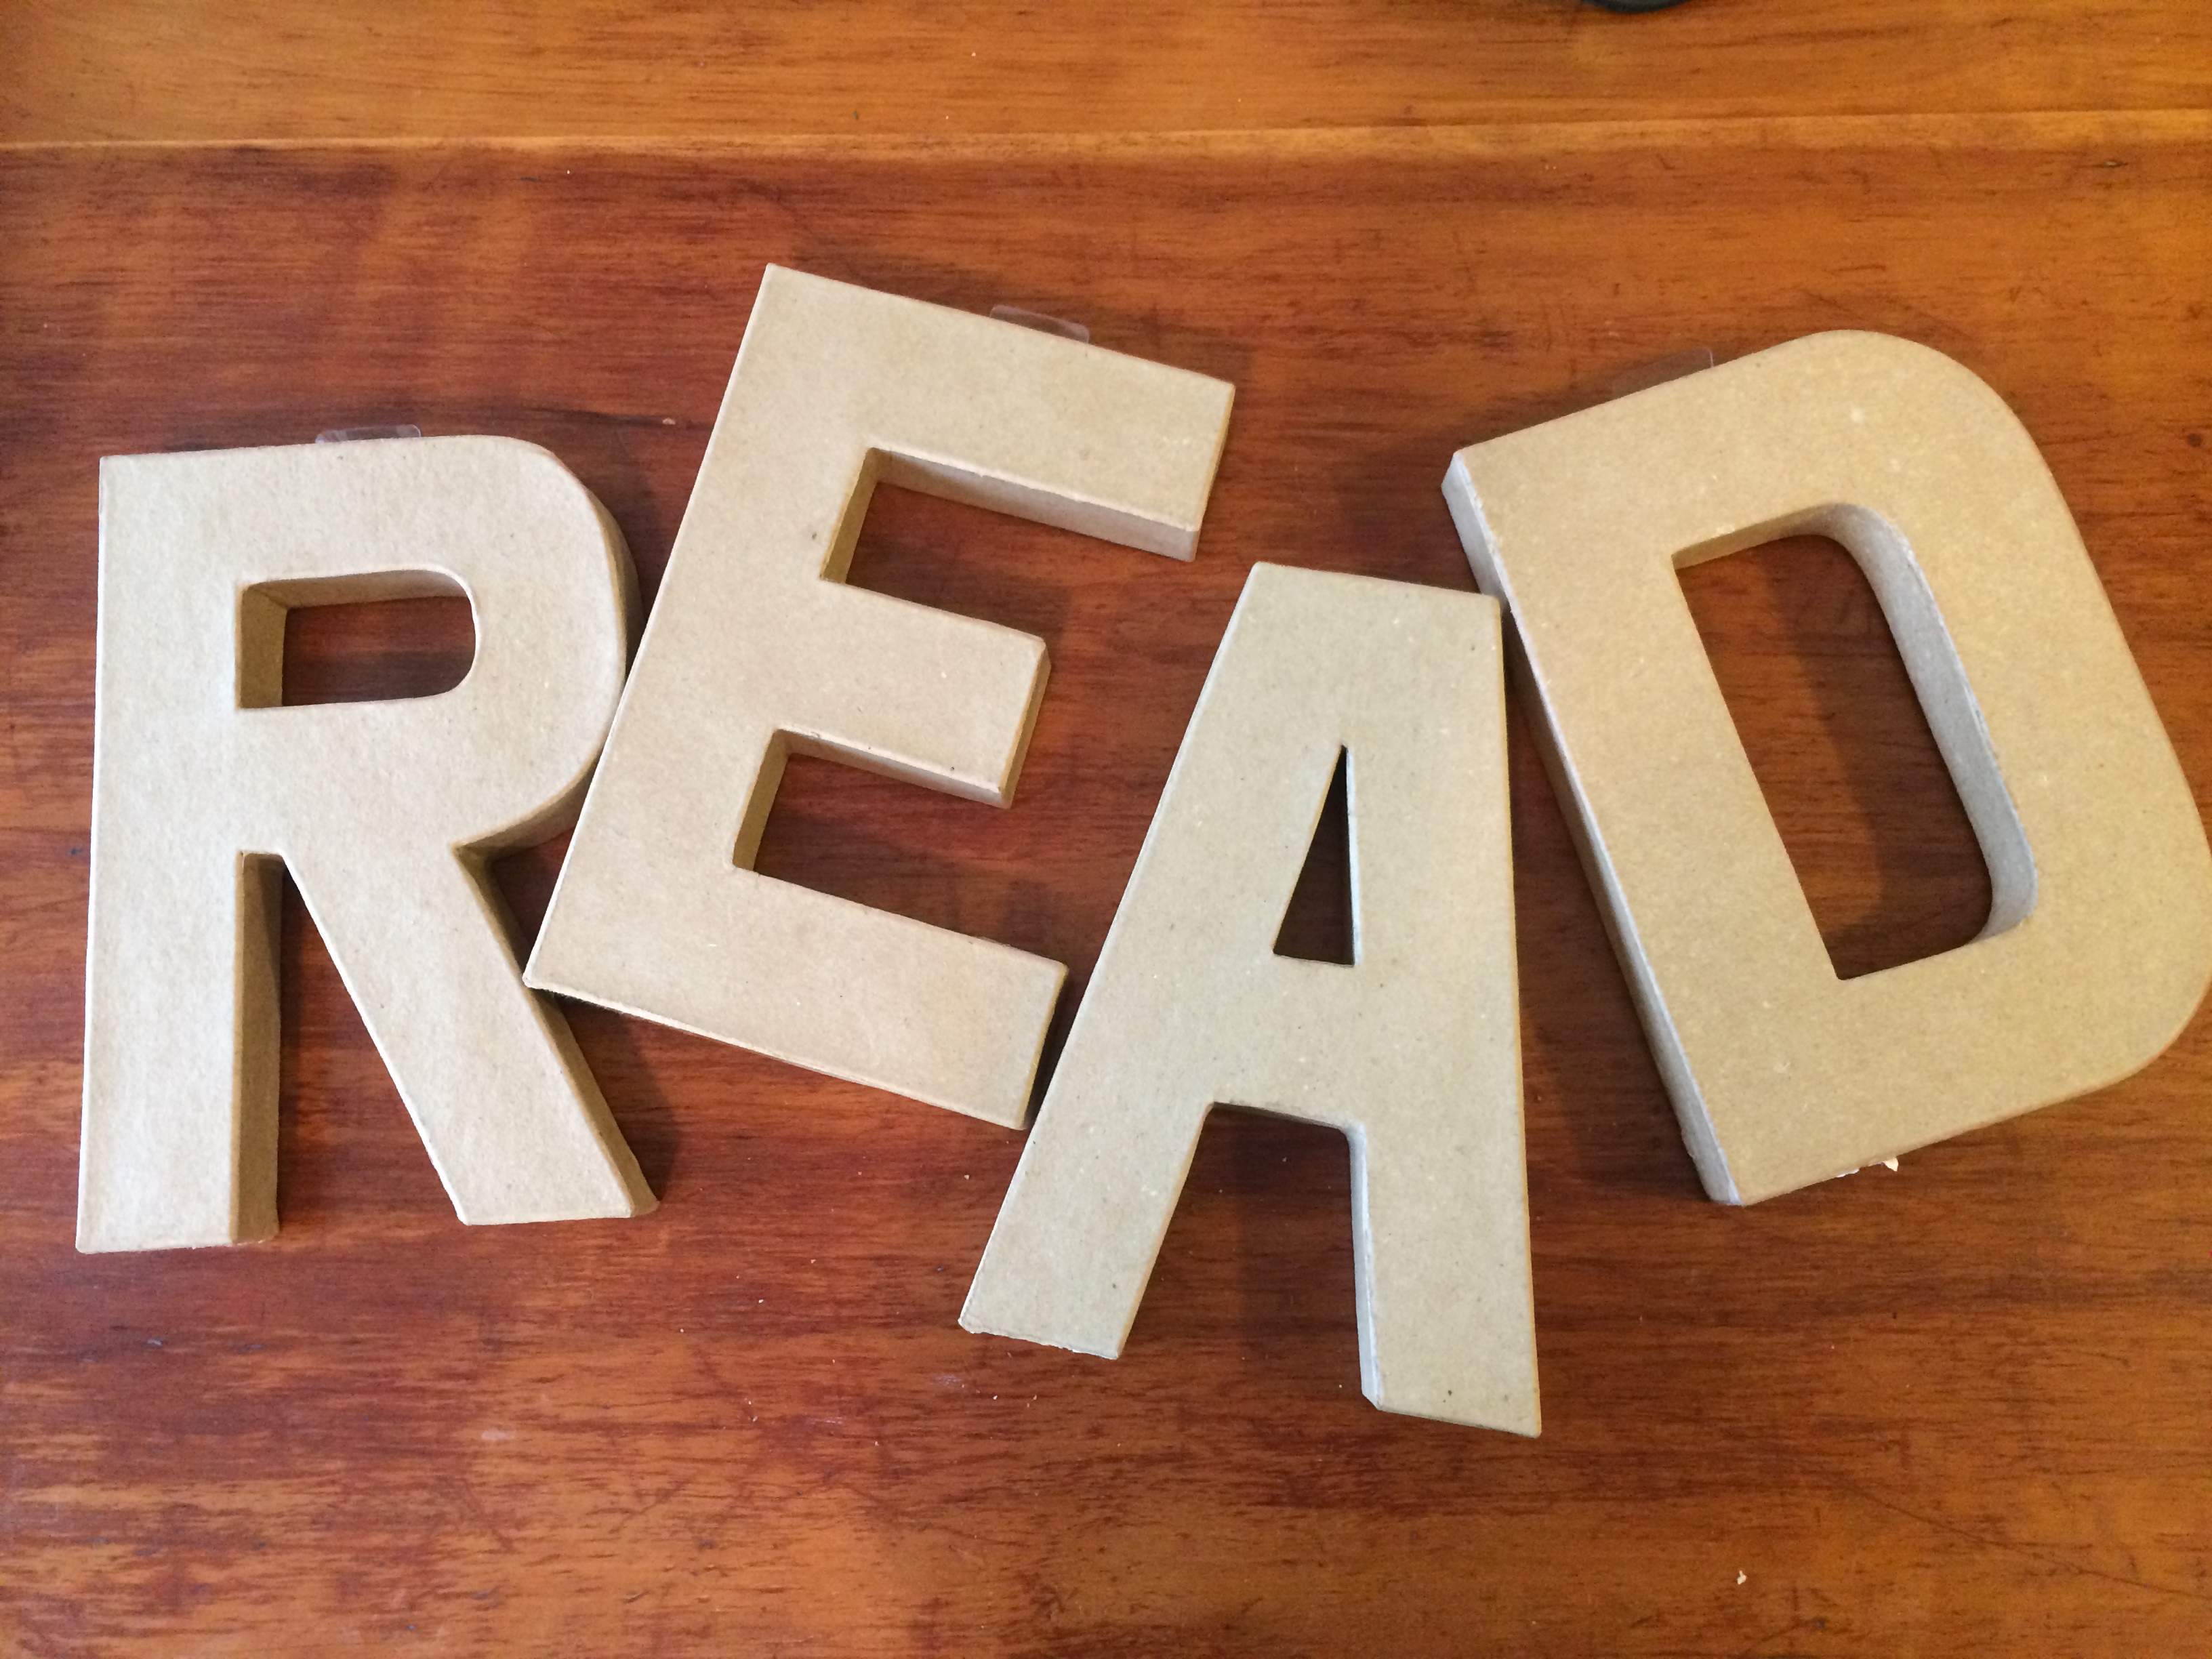
The hardest part of this project was finding the four letters.  A few of the stores did not have a the complete word.  I personally like these cardboard letters.  One of my pals opted for a thinner wood version of the letters – it’s a personal preference.

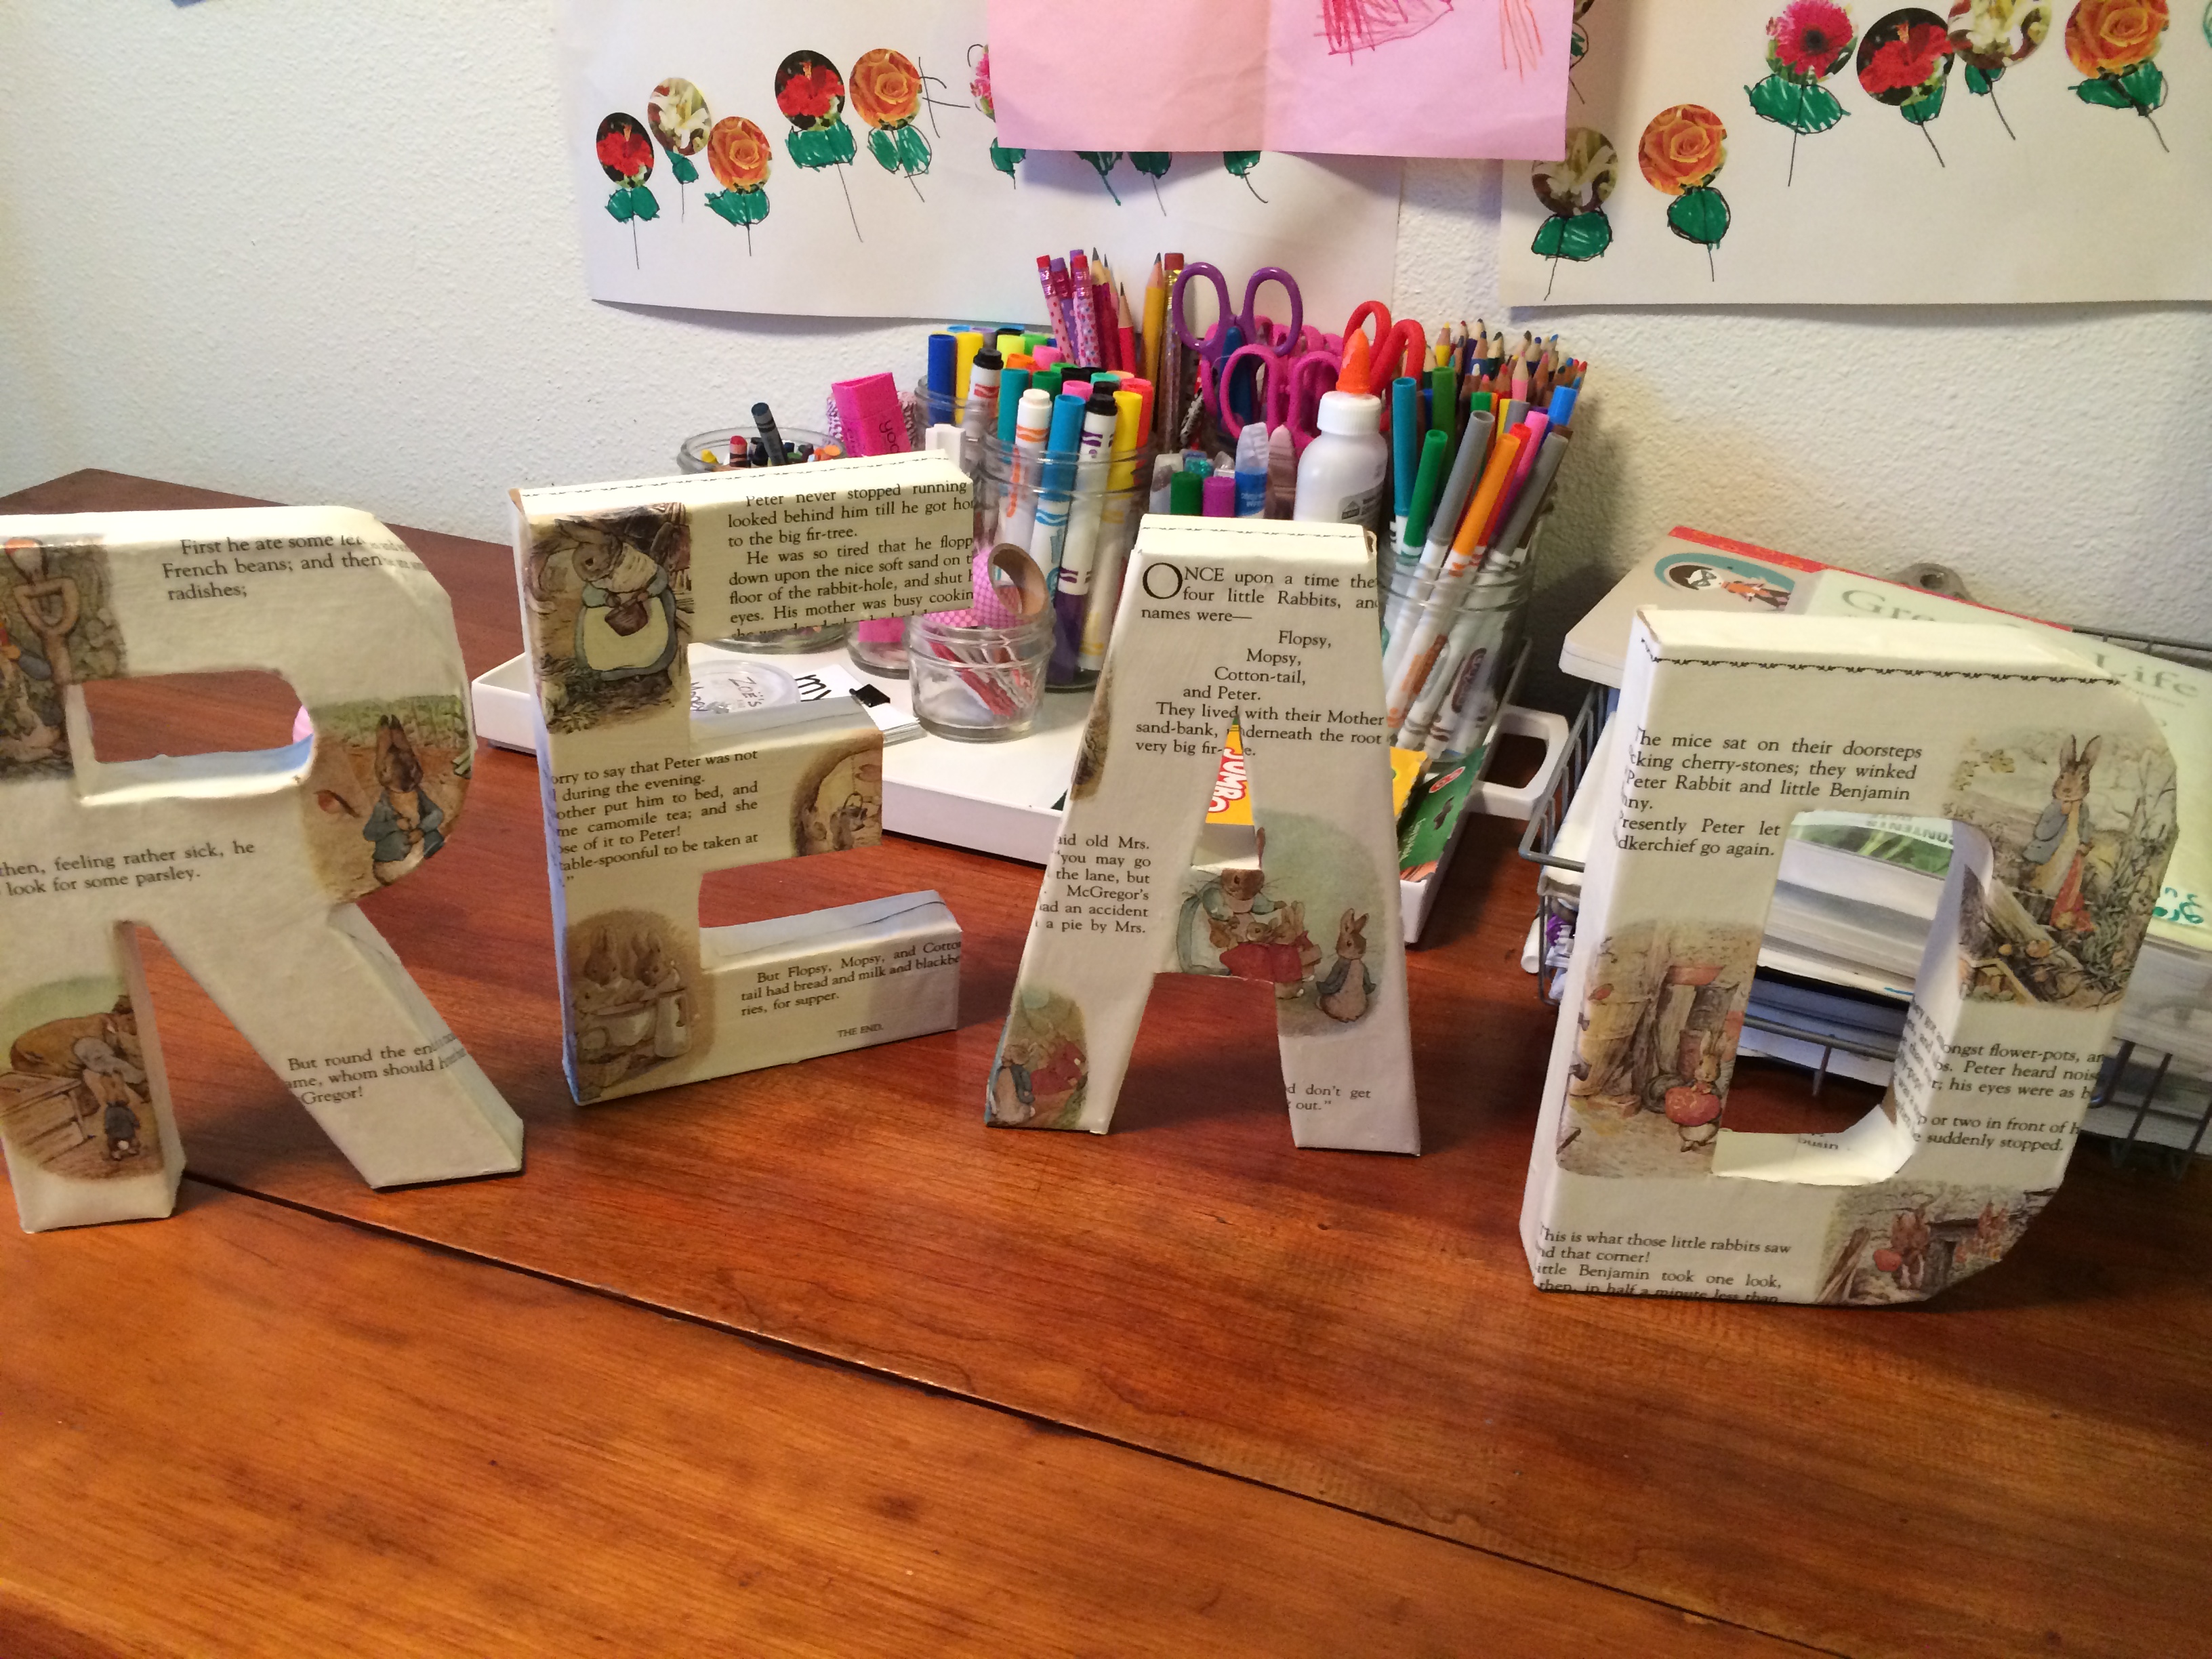
So once you have all of your stuff together you just need to get ready to get messy.  Decide if you want to use the entire book page like I did above, or if you want to cut out specific images and piece it together.

Tip: If you’re using thicker paper you might want to spritz it down with a light mist of water so it is more pliable.

Using the foam brush paint the top of the letter and smooth on the book images.  If you are going to wrap the pages around the letters you will need to cut them with an exacto knife and fold them over while they are still wet and pliable.  Odds are you will not get the entire page to cover the surface and sides of the letters so you will need to piece together other strips from the book to cover it all, I chose to use the white margins as the sides.

Once you get everything sorted out how you like it, then give it a once over of the modge podge and you just let it dry.
Super easy, right?  You can make it even easier if you like, just put the book page on the top of the letter and leave the side as is or paint the sides.  The folding over does get a little tricky and messy.

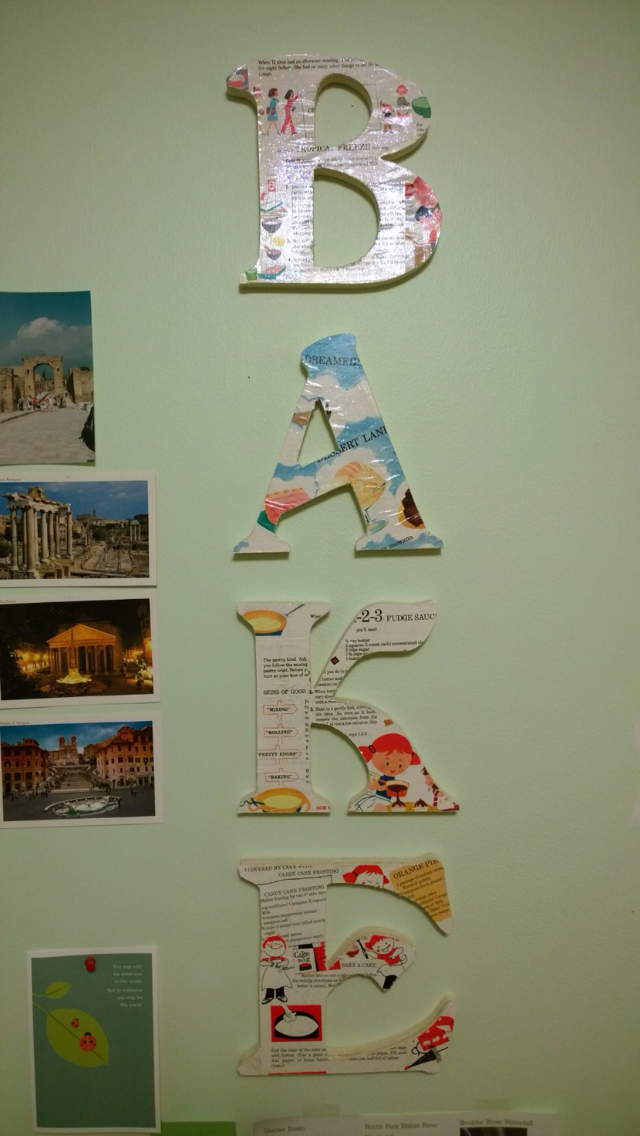
Here are some of the other creations from my lovely ladies:

Bake 1

Aren’t these amazing?  My friend makes the most gorgeous cakes and is just an overall amazing baker, so these are quite fitting for her and her passion for baking.

G

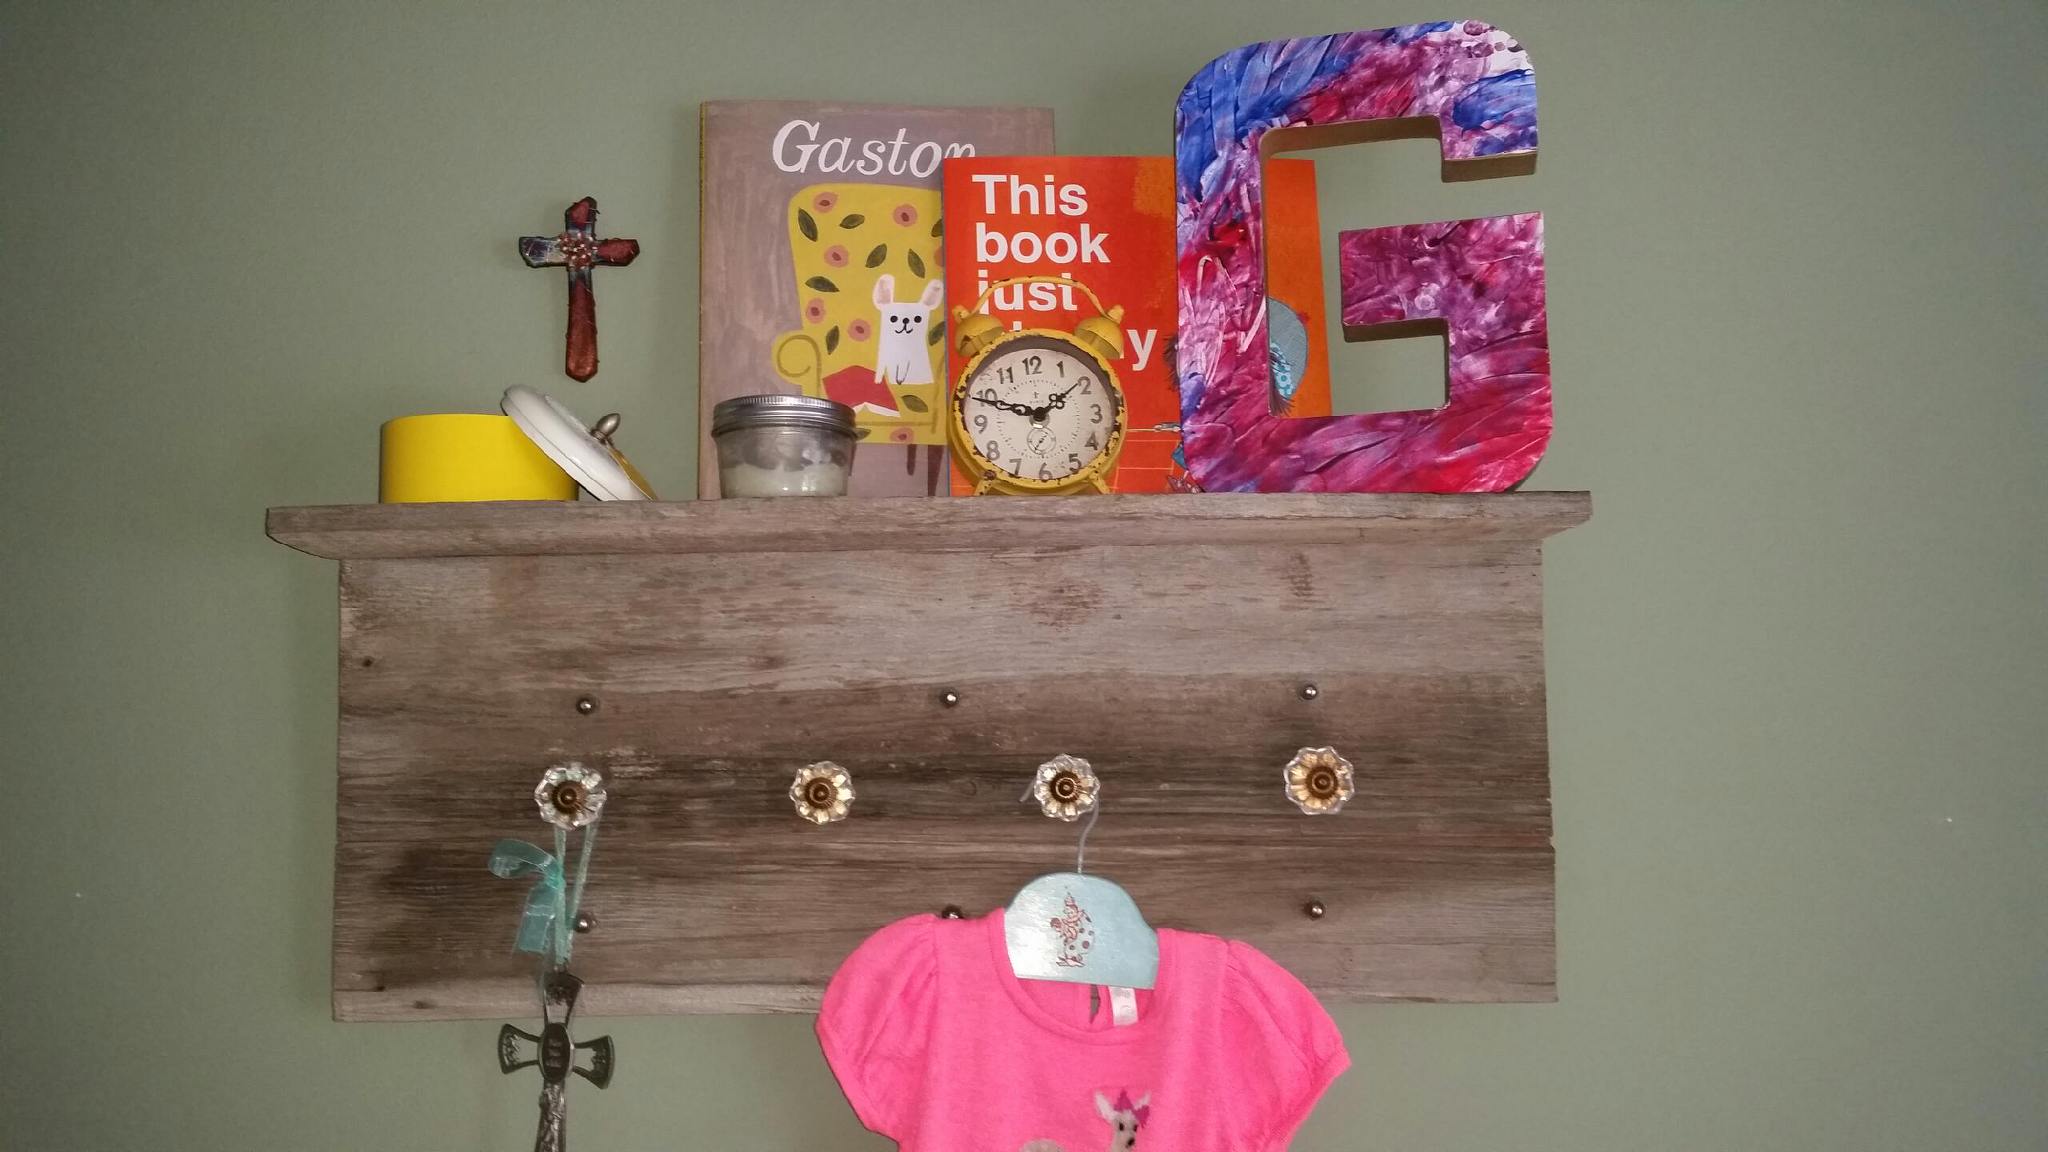
My other pal is a brilliant mama who just ran a giveaway with me at Grace Mabel Baby  where she produces incredible baby friendly lotions and soaps perfect for the most sensitive petites.  She made this amazing G out of her petites finger paintings!  Could this be any cuter?

Whichever way you choose it you can make this really cute project all your own.  As you can see these letters are really the perfect addition to just about any space.

Happy crafting!

You’ve Got Mail

My petite got a little mailbox from her Nana for Valentine’s Day, she loves getting and sending mail.  In fact she has 5 steps you must follow to send a proper letter.Envelopes

  1. Write the letter
  2. Get an envelope
  3. Get a stamp
  4. Address the envelope
  5. Take it to the post office

This is a routine ritual that we’ve been doing for months, so I thought it would be fun to make her some envelopes that she could use with her new mailbox.

To complete this project you don’t need a whole heck of a lot of things.

  • felt (5 pieces)
  • sewing machine
  • scissors
  • ric rac (optional – use a light to burn the edges so they don’t fray over time)
  • Velcro (optional)

It is rather amazing that this whole project took one nap time (with interruptions, probably 1 hour)

I love that this whole project to make four envelopes of all different sizes took 5 pieces of felt (that’s about $1.25), the rick rack was from another project, but it’s such a small amount less than half a yard I am sure.  I used Velcro on the back to hold it together, but you could sew the envelopes so that they don’t pop back open.

Steps:

  1. Cut the size you want and fold into three parts
  2. Cut the ric rac and burn the edges so they dont fray
  3. Sew the ric rac on or use the zigzag stitch to sew the address
  4. Then sew on the stamp (I totally messed up sewing the heart on one of them…oh well – I’m guessing the petite is not going to mind)
  5. Sew up the sides, I did a back and forth on the ends so that it won’t come apart when she opens it
  6. Put the Velcro on (I did this after I sewed them because I forgot about it, might be easier to do before you sew the sides)

I love the finished copy they are so cute.  I also cut out hearts to go in each one of them from the left over pieces.

Happy ‘almost’ Valentine’s Day.

Erin